GIS Shapefiles for ArcExplorer |
|||
 |
 |
|
|
Most graphical output from HYSPLIT-WEB and PC HYSPLIT can be converted into an GIS shapefile format for use in programs such as the free ArcExplorer application.
GIS Shapefile Example
| For this example see Example 8 Powerpoint (Ex8_hysplit.ppt)
or, start trajectories at 3 different heights over Cape Canaveral, Florida:
The result (right) shows a very complex wind pattern over Florida with all 3 trajectories moving off in different directions, however none varied much with height over the calculational period. |

|
![]()
To create a GIS shapefile of this model result, choose to modify the modify the trajectory plot without rerunning the model. Then check the box for ESRI Shapefiles and request the plot. This will create a zipped file containing all the necessary files for viewing the output in ArcExplorer: a text file containing the Generate format output contains the latitude and longitude pairs that make up the trajectory and a series of files with the suffix “shp”, “shx”, and “dbf” that make up the shapefiles. Extract the files to a directory on the PC. At this time only the first trajectory can be plotted in ArcExplorer.
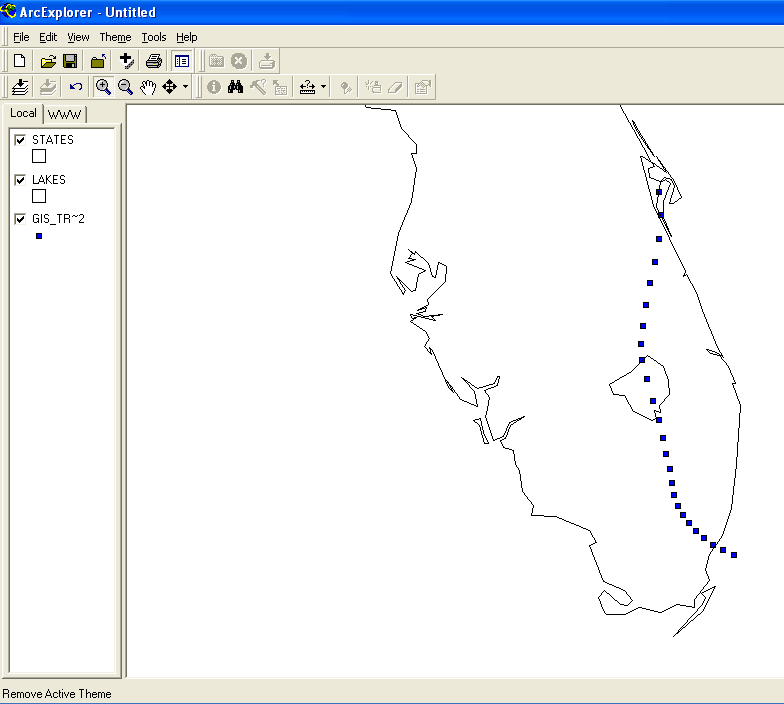 Open ArcExplorer and click on the "+" button to search and add the
shapefile just
created. Also add the country map background theme (CNTRY94.SHP) from the
C:\Program Files\ESRI\ArcExplorer2.0\AETutor\ directory and then select both themes.
Move the map background theme below the concentration theme by dragging the name below
the trajectory name. To change the color of the fill and other attributes,
double click on the theme name. In this case we made the map background transparent.
To have each trajectory endpoint a different color, choose Unique Values from
the Classification Options menu and then choose "id" from the Field pulldown menu.
Open ArcExplorer and click on the "+" button to search and add the
shapefile just
created. Also add the country map background theme (CNTRY94.SHP) from the
C:\Program Files\ESRI\ArcExplorer2.0\AETutor\ directory and then select both themes.
Move the map background theme below the concentration theme by dragging the name below
the trajectory name. To change the color of the fill and other attributes,
double click on the theme name. In this case we made the map background transparent.
To have each trajectory endpoint a different color, choose Unique Values from
the Classification Options menu and then choose "id" from the Field pulldown menu.
Previous |
Next |